Screen Capture
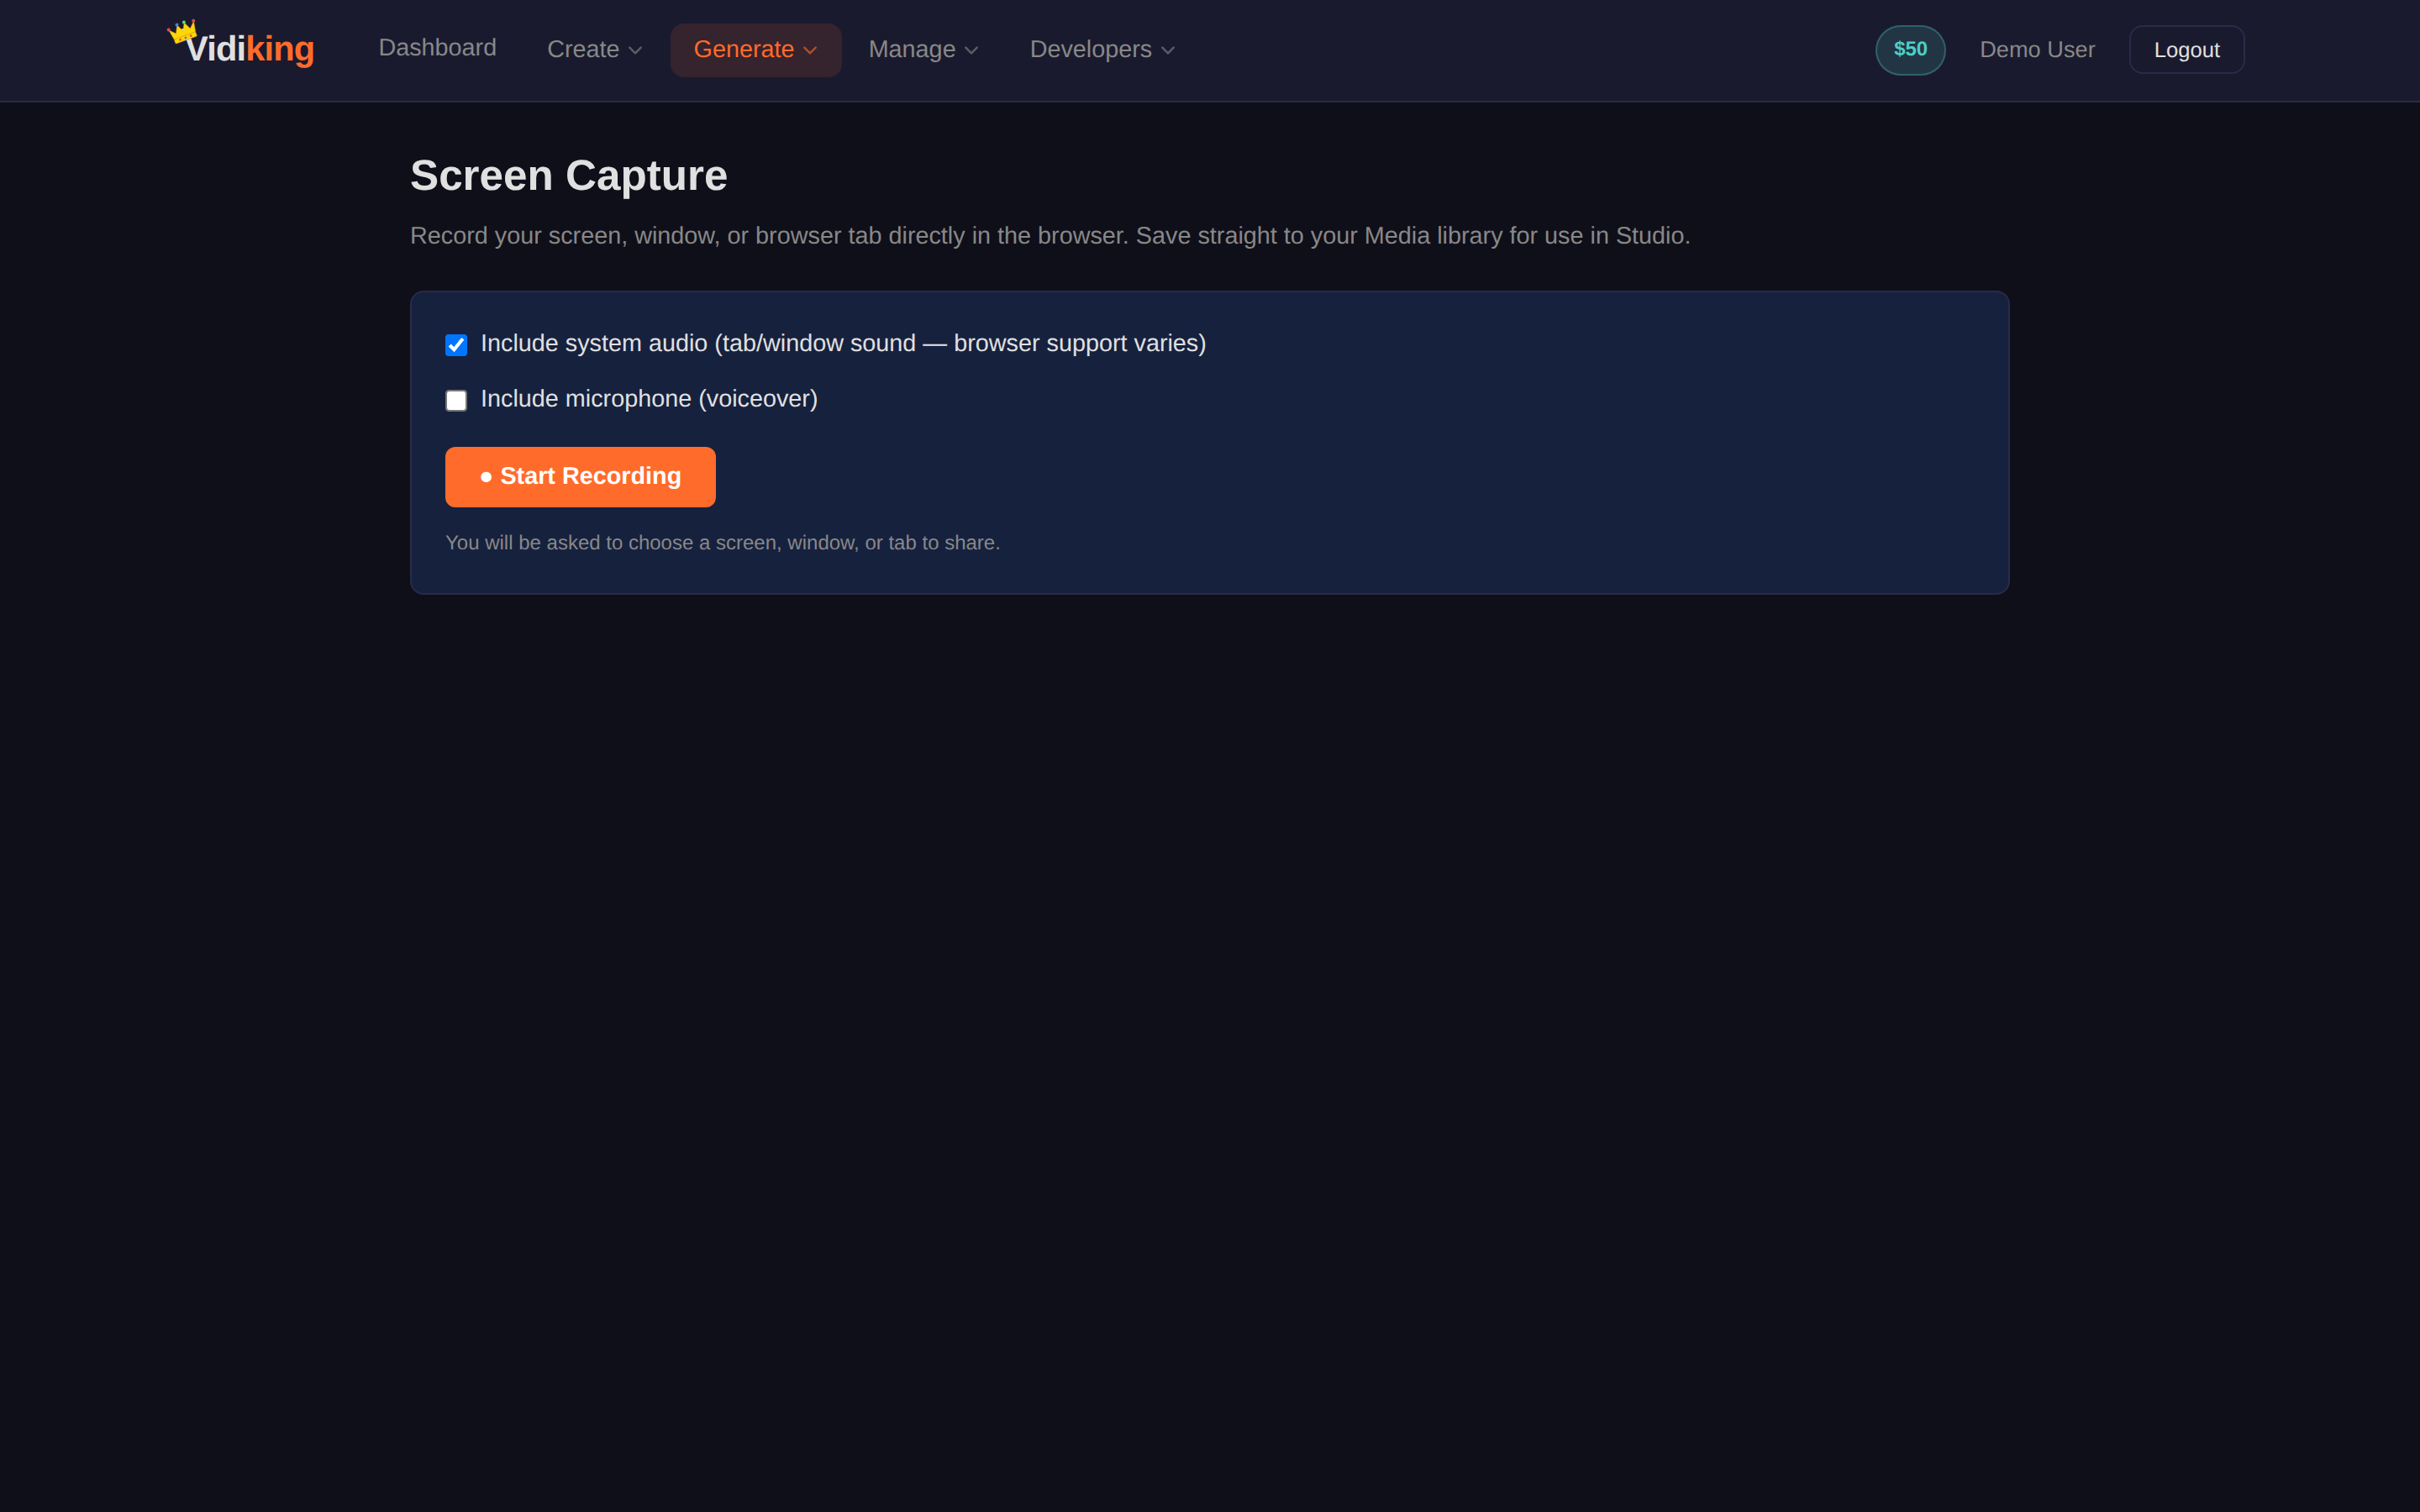
The Screen Capture page (at /screen-capture) records your screen right in the browser — perfect for tutorials, product demos, bug reports and walkthroughs. The recording saves into your Media Library so you can drop it straight into a Studio project.
How to record
- Choose your audio options: tick Include system audio to capture tab/window sound, and/or Include microphone (voiceover) to narrate as you record. (Browser support for system audio varies.)
- Click Start Recording.
- Your browser asks what to share — a whole screen, a window, or a single browser tab. Choose one and confirm.
- The page shows a live recording state with a timer. Do whatever you want to capture.
- Click Stop when you're done.
- Preview the result, give it a filename, and save it to your media library.
If recording is blocked
Screen recording needs permission from both the browser and your operating system. If you see an error or the picker doesn't appear:
- You clicked Cancel on the share picker — just start again.
- macOS: enable it in System Settings → Privacy & Security → Screen Recording, tick your browser, then restart the browser.
- Unsupported browser: use a current version of Chrome, Edge or Firefox. Some browsers don't support in-page screen recording.
Best results
Close notifications and tidy your desktop before recording. Record a slightly longer take than you need — you can always trim it later in Studio.
After recording
Your capture lands in the Videos tab of the Media Library. From there you can:
- Download it.
- Send it to Studio to trim, add captions, or layer in a voiceover.
- Combine it with other clips into a finished tutorial.
That's every interface in the Vidiking app. To start automating what you've built, head to the API Keys & Console or the Quick Start.